Showing posts with label Lunch. Show all posts

Saturday, September 3, 2011

Chicken Salad


I was wondering what to do with my food from my Bountiful Basket and this recipe was my first idea. Well....not my first idea, but the easiest one to throw together for dinner. Absolutely delish!


Ingredients:

2 large chicken breasts
1 1/2 cup grapes
1 cup chopped celery - about 2 stalks
3/4 cup mayo
1/2 tsp salt
1/4 tsp fresh ground pepper

Lightly drizzle some olive oil on the bottom of the chicken and then sprinkle with salt and pepper. Turn chicken over and do the same thing on the top. Place on a cookie sheet or in a baking dish and bake at 350 degrees for 30 minutes.


Remove chicken and let it cool. Once it has cooled down, chop it into small cubes (or shred it, but I like cubes).


Put grapes and celery in with chicken. If you have large grapes, cut them in half - mine were small, so I left them whole.

In a small bowl, add the mayo and the salt and pepper. Stir to combine. Pour over chicken, celery, grape combo and mix together.
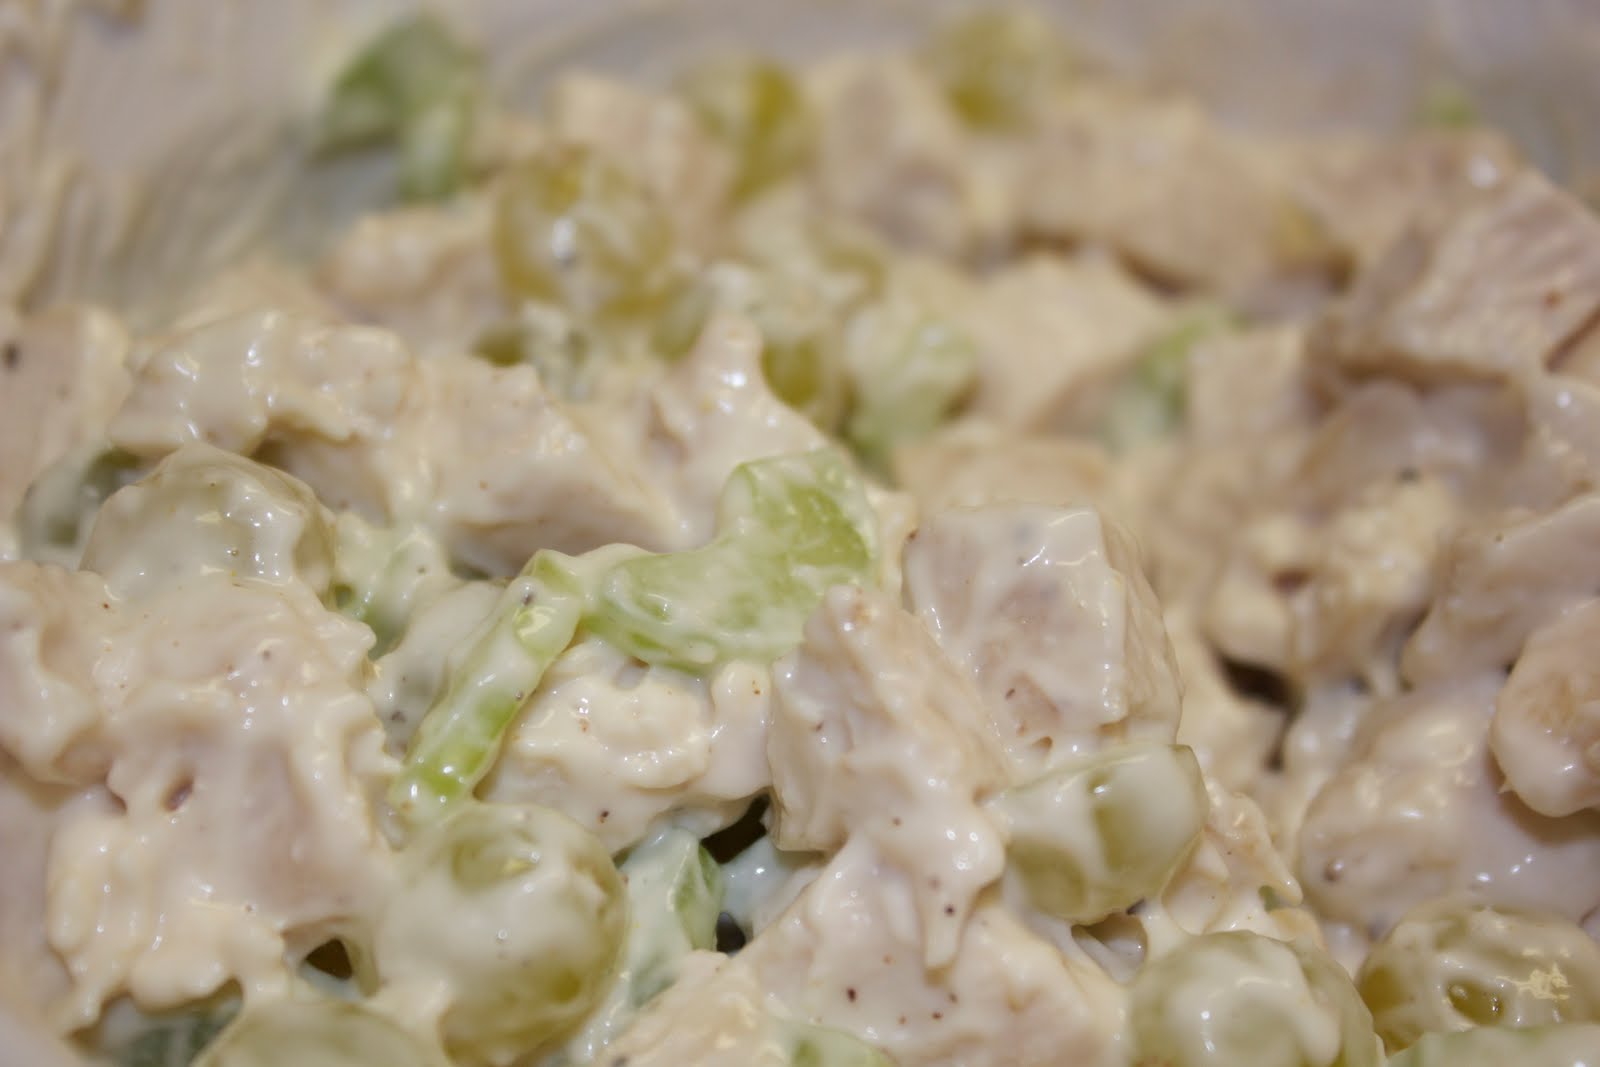

Cover and place in the refrigerator until ready to use. It tastes better chilled.

You can serve this a couple of different ways.....


You can have it just plain - by itself or on a piece of lettuce.

Or...you can add some carbs!


The traditional way is on a croissant bun.


Absolutely yummy and served at every wedding reception you go to. : )

I really like it this way, however, I would have to say that my favorite way to eat this is on a piece of toasted whole wheat bread.

Take two slices of bread and toast them (no butter). Place one piece of toast on the bottom, cover with chicken salad, and then place the other piece of toast on the top.

You'll probably want to eat this with a fork!


The crunch of the toast goes great with the creamy chicken salad. It's just a great combination - and a lot healthier than the croissant.

Enjoy!

Friday, August 26, 2011

Chicken Ranch Pitas

School Lunch Week

Day 5
Chicken Ranch Pitas


I have a difficult time with pitas. They always look so good, but mine never seem to turn out as well as the ones pictured on the internet.

However, these turned out alright. I do have to admit that I didn't roll the kids' pitas up in parchment paper and slice them in half. Instead I stuck them whole into a zip-lock bag -- so much cleaner and easier for their lunch boxes.


Ingredients:

cooked chicken breast
romaine lettuce - cut into bite size pieces
tomatoes - cut into small chunks
feta cheese
Ranch dressing
Pitas


Cut the chicken breast into 1/4 inch slices. This is a great lunch the day after you've had chicken for dinner. Use up those leftovers!


In a bowl, combine the lettuce, tomatoes, and feta. It looks like you're making a salad. You want about 3/4 cup of lettuce per pita and then add the other ingredients according to your tastes - more feta, less tomatoes, tons of chicken....you know how that goes.


At this point, take out your favorite ranch dressing. Around here we have a couple. If I want a light dressing, I go for Hidden Valley Ranch Light. But....if you don't mind those extra calories and fat, the Litehouse Homestyle Ranch is to die for - absolutely wonderful. Just remember to get the Homestyle kind.


Put some ranch on top of your bowl of lettuce. Stir to combine. Add more ranch if needed - you want the salad to be evenly coated throughout.

Cut 1 to 1 1/2 inches off the top of the pita and slowly open being careful not to crack it. Stuff the pita with your salad mixture.

Once it's stuffed, you can take it whole and put it in a plastic bag. Or you can wrap the whole thing in parchment paper and then cut it in half. Either way it tastes great!


Thursday, August 25, 2011

Nutella & Banana Sandwich

School Lunch Week

Day 4
Nutella & Banana Sandwich


There are two different ways that you can make this sandwich - one with toasted bread, one without. I will give you both ways today - preparation may be different, but ingredients are the same.

Ingredients:

2 slices whole wheat bread
1 1/2 to 2 Tb. Nutella Spread
1/3 of a banana
Sliced lemon

Toasted Recipe:

Toast both slices of bread. In a small bowl, smash your banana with a fork. Add a little lemon juice to keep the banana from going brown.

Spread Nutella on one slice of bread and smashed banana on the other.


Slap the two sides together, and you've got a sandwich! Eat immediately and this is amazing! The crunchy toast is a perfect combination to the creamy fillings.


However.....


If you are making this for your child's school lunch, crumbly toast may not be the best way to go. So, here is option number two...the non-toasted recipe:


Spread Nutella on one piece of bread. Slice banana into round slices. Gently rub the banana slices on a cut lemon to keep them from turning brown. Place slices on piece of bread.

Fold the two sides together, and there you have it! The texture of the sliced bananas goes well with the non-toasted bread.


I personally have to say that the toasted version is a bit better. However, knowing my kids and their inability to eat anything without getting it all over themselves, I decided to go with the slightly less messy version and send them to school with non-toasted sandwiches.

Enjoy!

Wednesday, August 24, 2011

Chicken Caesar Wraps


School Lunch Week

Day 3
Chicken Caesar Wraps


This has quickly become a staple in our School Lunch routine. It's an absolute favorite and so simple to make.

This is one of those recipes that has no exact amounts - you just make them a couple times and then you'll have it down.

Ingredients:

Chicken
Parmesan Cheese
Romaine lettuce
Tortillas
Caesar Salad Dressing


Lay out your tortilla and place chicken on top. If your tortilla is at room temperature it seems to work best. Also, you can use any leftover chicken that you have in your fridge - that chicken breast you had for dinner? Slice it into thin slices - or use the leftover shredded chicken from your asian salad - that's what I did.


Take your salad dressing and put a zig-zag line over the top of the chicken. Then sprinkle with fresh parmesan cheese.

We like to use the Kraft Classic Caesar Salad Dressing - it's perfect for this.


Place your romain leaves on top of the chicken. You can use whole leaves or shredded leaves - either one will work.

Don't use other types of lettuce. Ice burg lettuce tastes different and red and green leaf don't stay crispy with the dressing.


Add another zig-zag of dressing and roll that thing up!

Sometimes it stays together just fine, and other times it wants to roll apart. So, I often take a toothpick and stick it right through the middle, just to keep it all together.


This is one that I typically don't slice - I just give them the whole tube.

You can also add more or less of any of the ingredients. Make this a few times and I'm sure you'll have it down perfectly!

Tuesday, August 23, 2011

Asian Chicken Salad

School Lunch Week

Day 2
Asian Chicken Salad


I'm actually quite surprised that my kids like this and eat it! But, hey...I guess they're culinarily adventurous - who knew?

This is a nice crunchy salad that can be made the night before - which truthfully every mom loves because the mornings are so crazy!

Ingredients:

1 cup shredded chicken
1 cup carrots
3 cups cabbage
1/4 cup chopped chives
1/2 cup asian salad dressing
peanuts (optional)
bean sprouts (optional)


Begin by cooking your chicken. I like to boil mine and then shred it. Once your chicken is shredded, place it in a bowl.


Cut your carrots into thin long strips - or just buy the prepackaged matchstick carrots and measure out a cup. ; )

Place the carrots in the bowl with the chicken.


Take a head of green cabbage (washed, of course) and thinly slice. You want the same style of cabbage that you would use for coleslaw.

Throw in the chives - if you don't have chives, just cut the green tops off of some green onions. They work just great.

Throw the cabbage and the onions into the bowl.


Now for that dressing. I like to use Newman's Own Lowfat Sesame Ginger. But you can use whatever you prefer. I also like the Kraft kind (can't think of the name) but this one is my favorite.

Pour the dressing over the salad and toss to combine and coat all ingredients.


If you want to throw in some bean sprouts or peanuts, now's the time. I thought I might be pushing my luck if I added any, so I decided to go with the basic salad for my kids...no need to scare them away with something new.

Eat salad immediately, or place in fridge until ready to serve. Personally I like mine cold.


The kids had the Asian Chicken Salad with grapes (no those are not olives), water, go-gurts, and granola bars.

Yum, yum.

Monday, August 22, 2011

Turkey Spinach Wraps

School Lunch Week

Day One
Turkey Spinach Wraps


This is our basic wrap in this family. Everyone likes it and it's so simple to make - great for those school lunches.

Ingredients:

Basil & Chive Cream Cheese (click for recipe)
Turkey Lunch Meat
Flour Tortillas - can use whole wheat
Baby Spinach Leaves
Tomatoes


Make the Basil & Chive Cream Cheese mixture.


Lightly spread it all over your tortillas with an offset spatula (you have enough cream cheese to make 4 to 5). Then place the turkey meat on one side of the tortilla. Place spinach and tomatoes on top of the meat.


Starting on the meat side, roll your tortilla into a tube. Slice in half on a diagonal and you're ready to eat!

This was for one of my kids that didn't like tomatoes.


However, I LOVE tomatoes on mine, so here it is.


I also decided to go for the whole wheat tortilla. Both are great, it just depends on your preference.

So simple...so good!


Sunday, September 12, 2010

Greek Pitas


Ingredients:
1 1/2 large green peppers, diced
3 to 4 TB of Olive oil
1 1/2 large tomatoes, diced
1/2 garlic clove, dice opt.
1/2 to 1 red onion chopped
1 tsp of Italian seasoning
12 0z of feta cheese
6 whole wheat pita breads

1. Preheat oven to 350 degrees. Dice the green peppers, onions, tomatoes, and garlic clove.
2. In a large mixing bowl, add all ingredients and mix. Add more olive oil if needed.
3. Cut pita breads in half (if not already done). Open the middle and fill pita with ingredients.
4. Place on cookie sheet and bake for 15 minutes. Cool for 5 minutes.

* I loved this! My children loved the dill carrots but the pita wasn't their favorite. The onions and garlic are probably too much for them. I tried to make a pizza pita for them. And I am still working on perfecting it. If any of you try experimenting with the pita, let me know. I think it is my new favorite food.

LinkWithin

Related Posts Plugin for WordPress, Blogger...